
cuongpro9x
Cường Nguyễn
Staff member
Moderator
CÀI ĐẶT:
Bước 1 Tải source code về, giải nén, để nguyên 2 định dạng file installer.php và file nén ***.zip
Bước 2 Upload 2 file installer.php và ***.zip lên host trống, trong thư mục html_public
Bước 3 Mở file installer.php để kích hoạt trình khôi phục web theo đường dẫn: tên miền/installer.php (ví dụ: ninhbinhweb.com/installer.php)
Bước 4 Lần lượt các bước của trình khôi phục Duplicator, Next -> Next theo thứ tự tới bước nhập cấu hình database
Bước 5 Vô lại host, tạo database mới tinh, sau đó nhập thông số database vào trình khôi phục bao gồm có tên_database, tên_user và Password_user (lưu ý cọn "Connect and remove all data"
Bước 6 Test database -> Next - Next cho tới bước login site
Bước 7 Đăng nhập tk admin của web trong file notepad đính kèm
Bước 8 Sau khi đăng nhập tk admin, vào plugin Duplicator - Tools - Clean Data - Xóa 2/3 tùy chọn delete để xóa các file thực thi của plugin
Bước cuối Gỡ plugin Duplicator ra khỏi web. OK
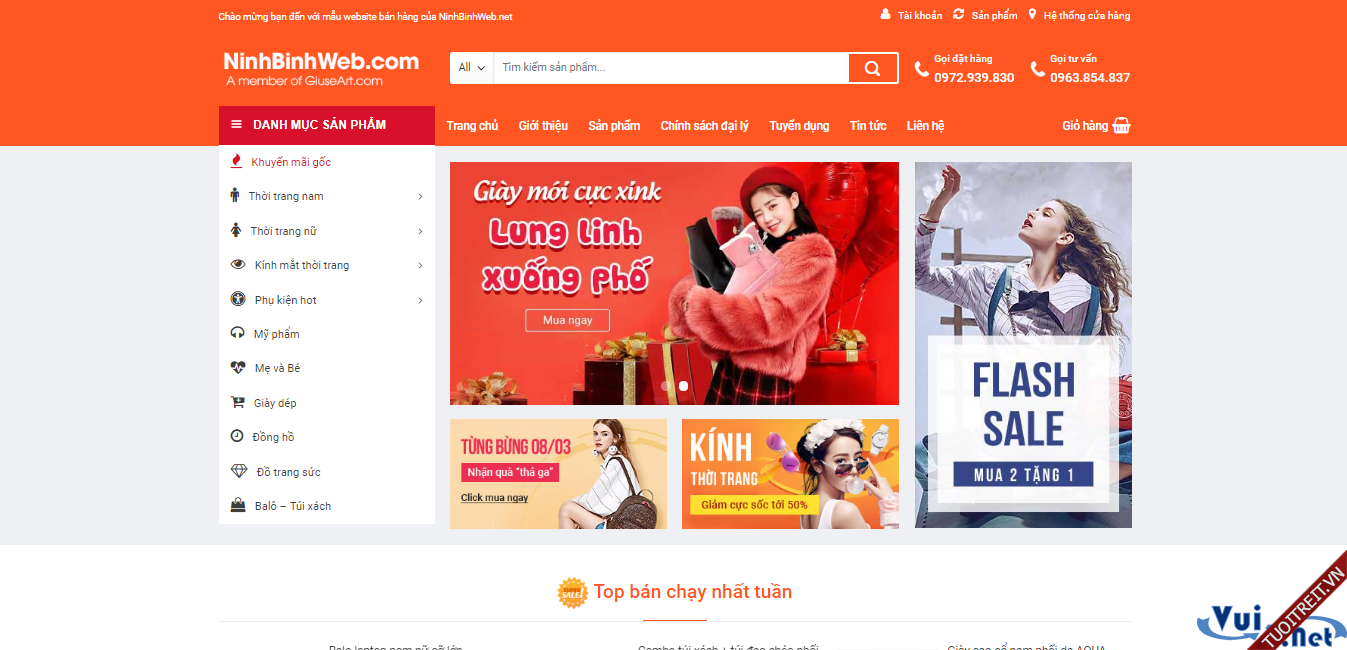
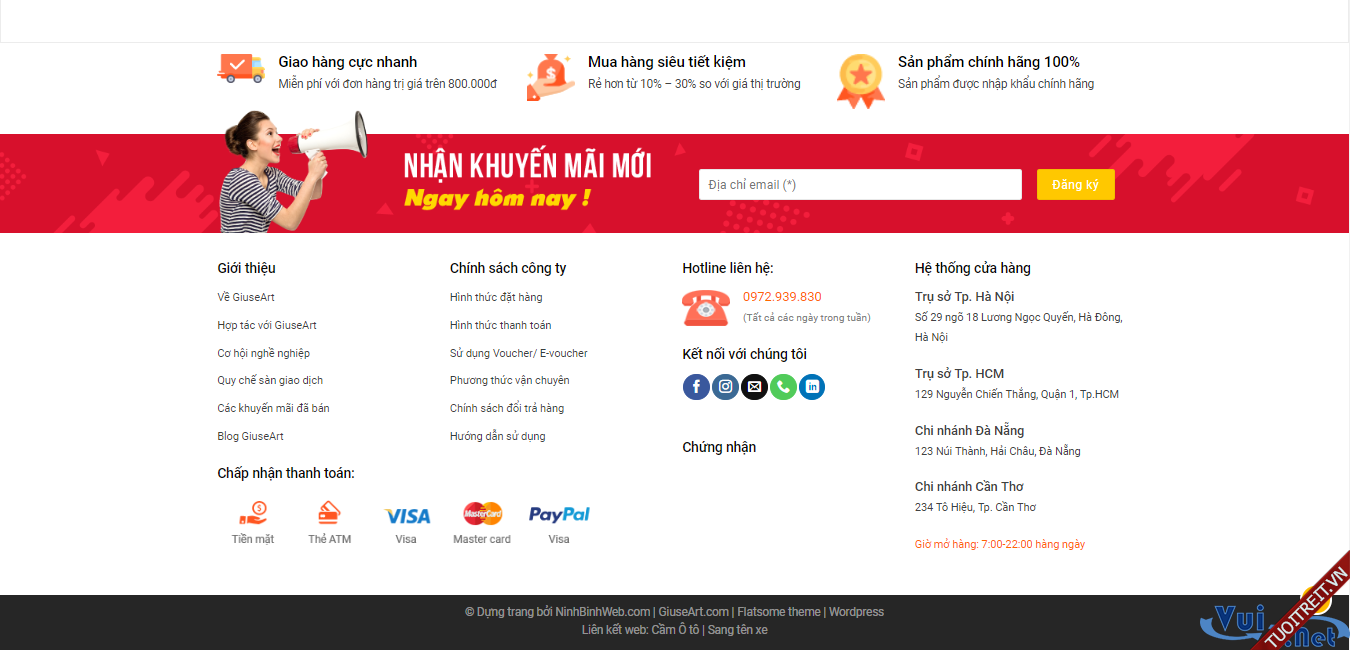
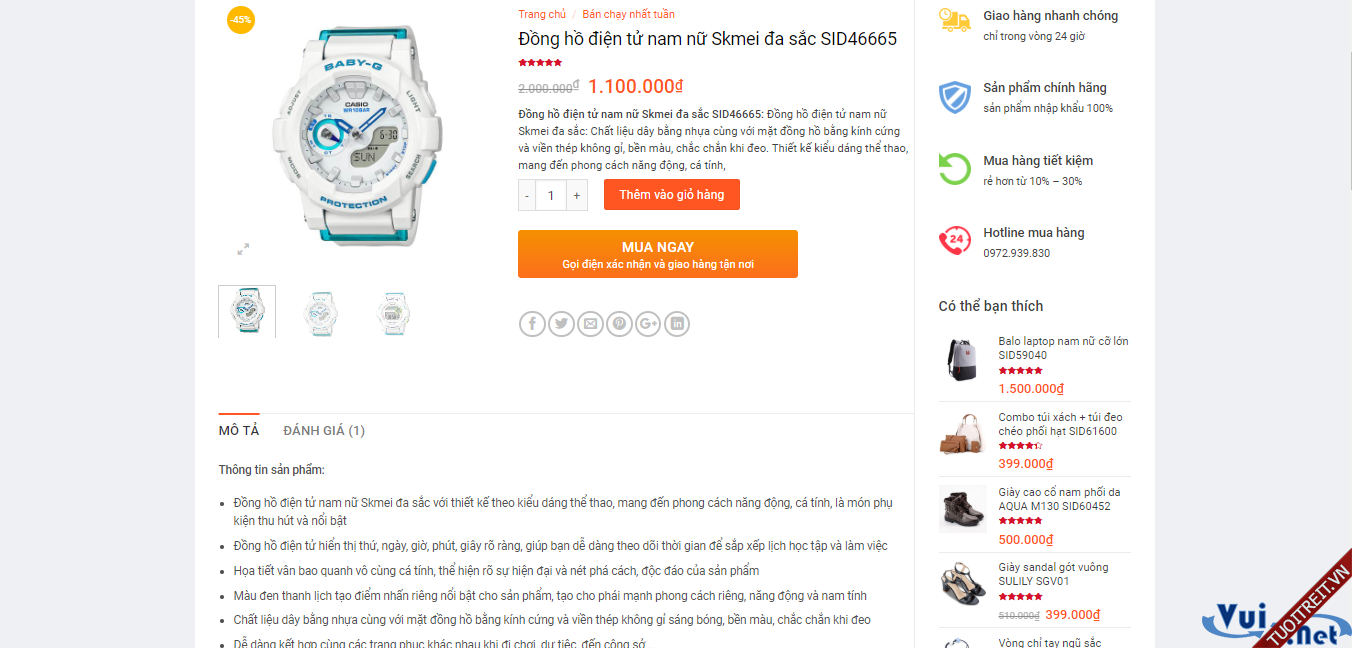
DEMO HÌNH ẢNH
DOWNLOAD
Bước 1 Tải source code về, giải nén, để nguyên 2 định dạng file installer.php và file nén ***.zip
Bước 2 Upload 2 file installer.php và ***.zip lên host trống, trong thư mục html_public
Bước 3 Mở file installer.php để kích hoạt trình khôi phục web theo đường dẫn: tên miền/installer.php (ví dụ: ninhbinhweb.com/installer.php)
Bước 4 Lần lượt các bước của trình khôi phục Duplicator, Next -> Next theo thứ tự tới bước nhập cấu hình database
Bước 5 Vô lại host, tạo database mới tinh, sau đó nhập thông số database vào trình khôi phục bao gồm có tên_database, tên_user và Password_user (lưu ý cọn "Connect and remove all data"
Bước 6 Test database -> Next - Next cho tới bước login site
Bước 7 Đăng nhập tk admin của web trong file notepad đính kèm
Bước 8 Sau khi đăng nhập tk admin, vào plugin Duplicator - Tools - Clean Data - Xóa 2/3 tùy chọn delete để xóa các file thực thi của plugin
Bước cuối Gỡ plugin Duplicator ra khỏi web. OK
DEMO HÌNH ẢNH
DOWNLOAD
Hidden content
You need to react to this post in order to see this content.